Introduction
VPNs are widely used to provide secure access to access private networks or give users some anonymity. It is absolutely essential, therefore, that they be as secure as possible. One glaring security issue affects nearly all VPNs on Linux systems: when a VPN connection is dropped-- such as when a WiFi network is changed, internet access drops, or the system wakes from sleep-- there is a short window of time where traffic is routed directly over the internet, skipping the VPN altogether.
The solution for this is what is called a killswitch. A killswitch blocks all traffic which is not routed through the VPN. There are various ways to implement a killswitch. Paid VPN providers often make available proprietary connection applications which include a killswitch built-in. But what if you're not using a paid VPN provider? Well, most existing guides point users and administrators towards ufw. ufw, short for "uncomplicated firewall," is a very powerful FOSS firewall available on almost all Linux distributions. The hitherto existing guides offer a very simple ufw setup for a VPN: block all network traffic and allow all connections to the VPN's IP. This works well for a simple DIY VPN, but it has some major limitations. First of all, we need to allow traffic over LAN or else connections over LAN won't work. Secondly, every single VPN connection needs to be manually allowed through the firewall. But most importantly, it has no way to deal with VPN servers that provide a hostname to connect to! ufw only supports IP addresses and ports, not hostnames. Many VPN setups use a hostname instead of a static IP. This is increasingly common as a hostname may point to a variety of VPN servers. In this article I will demonstrate in eight easy steps how to set up a secure, effective VPN killswitch on Linux using ufw.
Step 1
The first step is to disable IPv6. Most VPNs do not support IPv6 traffic. We can do this through /etc/sysctl.d/ config files on systems with newer versions of systemd. With older systemd versions and systemd-free systems, /etc/sysctl.conf is used instead.
For systems with systemd 207 and later, create a file with the following command:
# touch /etc/sysctl.d/99-noipv6.conf
The actual name doesn't matter as long as it's in the correct directory and the first character is a number. Configuration files are loaded in alpha-numeric order, so keep that in mind if you have other sysctl configuration files. Open the newly created file in your preferred editor, paste in the following lines, and save the file.
net.ipv6.conf.all.disable_ipv6=1
net.ipv6.conf.default.disable_ipv6=1
net.ipv6.conf.lo.disable_ipv6=1
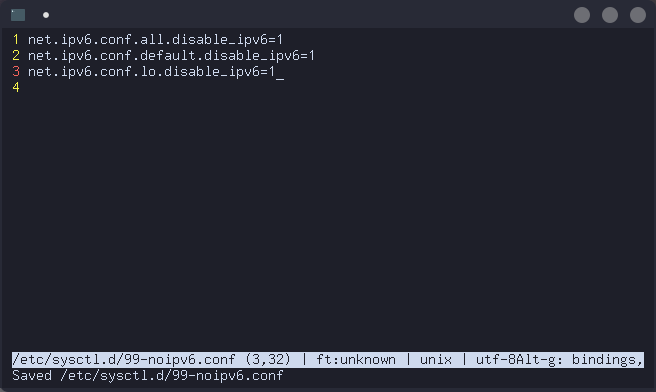
Now load the new configuration file with sysctl by running the following as root:
# sysctl --system
For systems without new versions of systemd, open up /etc/systemctl.conf in your editor of choice and find the lines from the above instructions. Change 0 to 1 to make sure IPv6 is disabled and then run # sysctl --system
Step 2
The next step is to make sure that ufw is installed. Many distributions come with it preinstalled. Simply run the following command to see if it's installed and available in your path:
$ which ufw
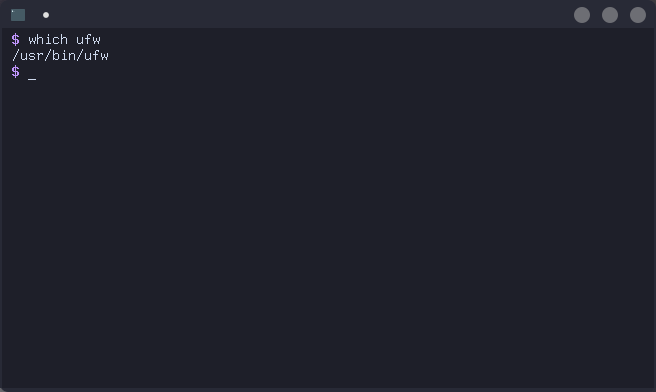
If you see a path as an output, it's installed. On some systems, ufw is not in the normal user path. So if it doesn't show up, try running the same command as root. If it still doesn't show up, install it with your system's package manager.
Step 3
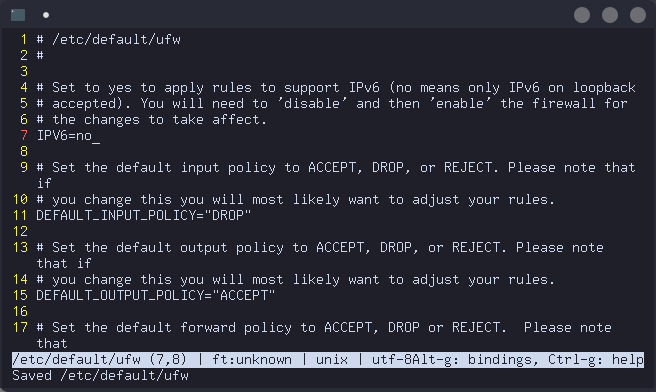
We're almost ready to set up the killswitch. But first, we need to disable IPv6 in ufw. Open up /etc/default/ufw in your preferred editor and change the IPV6=yes to IPV6=no
Step 4
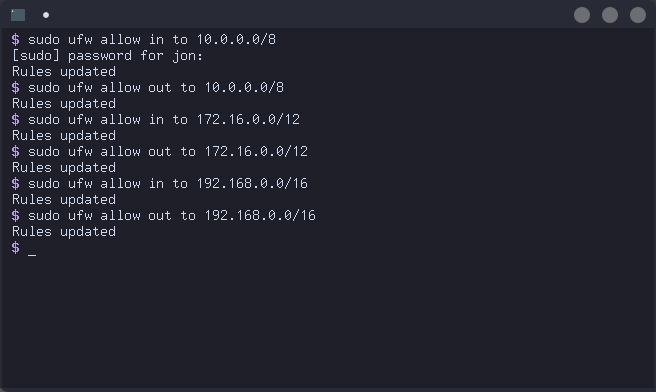
It's finally time to configure the killswitch itself! We want to allow LAN traffic through so that we can access other machines on LAN even while connected to the VPN. I didn't find any good info or guides online about doing this for all possible local area networks but it wasn't too hard to figure out after looking at IPv4 standards. There are a few IP blocks reserved for LAN traffic so what I've done is written up the IP and netmask to allow connections to and from the firewall to any IP on the LAN. The IP blocks are the 10.0.0.0 addresses, the 172.16.0.0 to 172.31.255.255 addresses, and the 192.168.0.0 addresses. Here are the commands:
# ufw allow in to 10.0.0.0/8
# ufw allow out to 10.0.0.0/8
# ufw allow in to 172.16.0.0/12
# ufw allow out to 172.16.0.0/12
# ufw allow in to 192.168.0.0/16
# ufw allow out to 192.168.0.0/16
Step 5
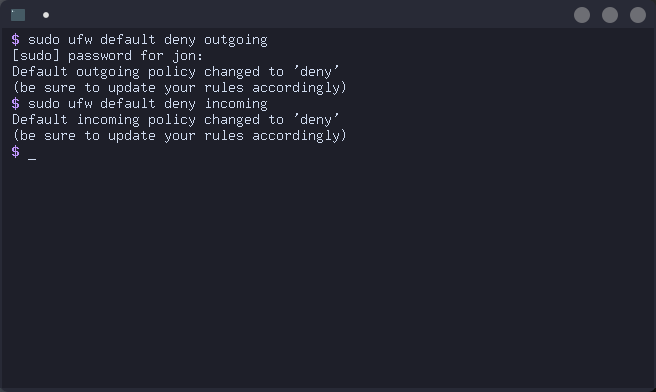
Now set ufw defaults so all other traffic is blocked:
# ufw default deny outgoing
# ufw default deny incoming
Step 6
Here's the magic step: instead of configuring ufw to allow traffic to a specific VPN's IP, we allow outbound traffic to the port which the VPN software runs on. We also allow traffic to the port used for DNS requests (port 53) so that we can resolve the VPN's hostname. We don't allow inbound traffic on these ports because this rule exists solely so we can establish the connection to the VPN server. VPN traffic is allowed in step seven. Here are the commands:
# ufw allow out 53,1194/udp
# ufw allow out 53,1194/tcp
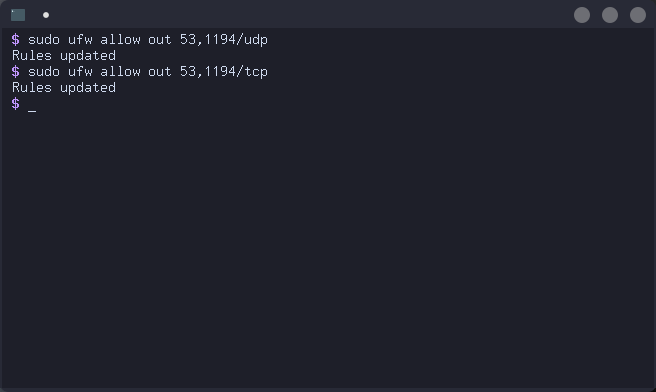
Please note that port 1194 is the default for OpenVPN. For other VPN protocols, you will need to use their port. Additionally, some OpenVPN configurations may use different ports. Check your VPN configuration to be sure.
Step 7
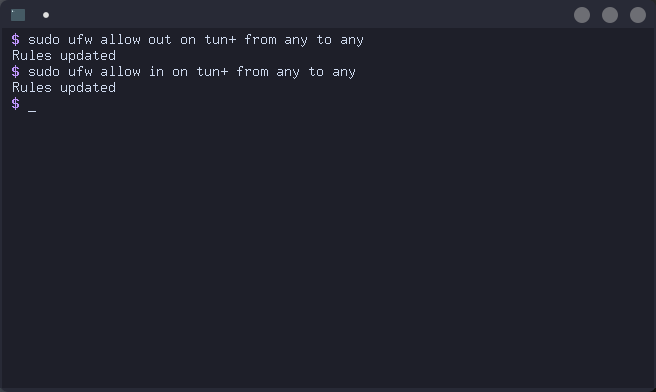
The penultimate step is to allow traffic over the VPN connection. The default network interface for VPNs is usually tun0 so we allow traffic on any tun interface. Here's how it's done:
# ufw allow out on tun+ from any to any
# ufw allow in on tun+ from any to any
Step 8
The killswitch is finally configured and now just needs to be started. To start it, use # ufw enable and to stop it, use # ufw disable
On systems without systemd, nothing further should be necessary to enable the killswitch on system startup. On systems with systemd, run # systemctl enable ufw to make the killswitch automatically turn on when the system boots.
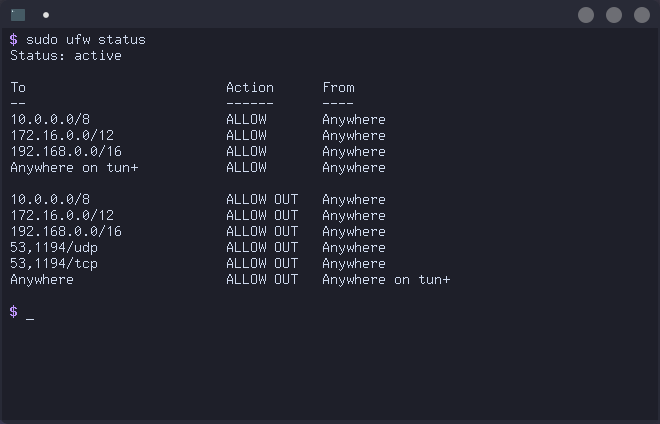
Be sure to test the killswitch and make sure it is working properly. ufw should report the following rules when # ufw status is ran:
News
2022-2-15
- Article first published.